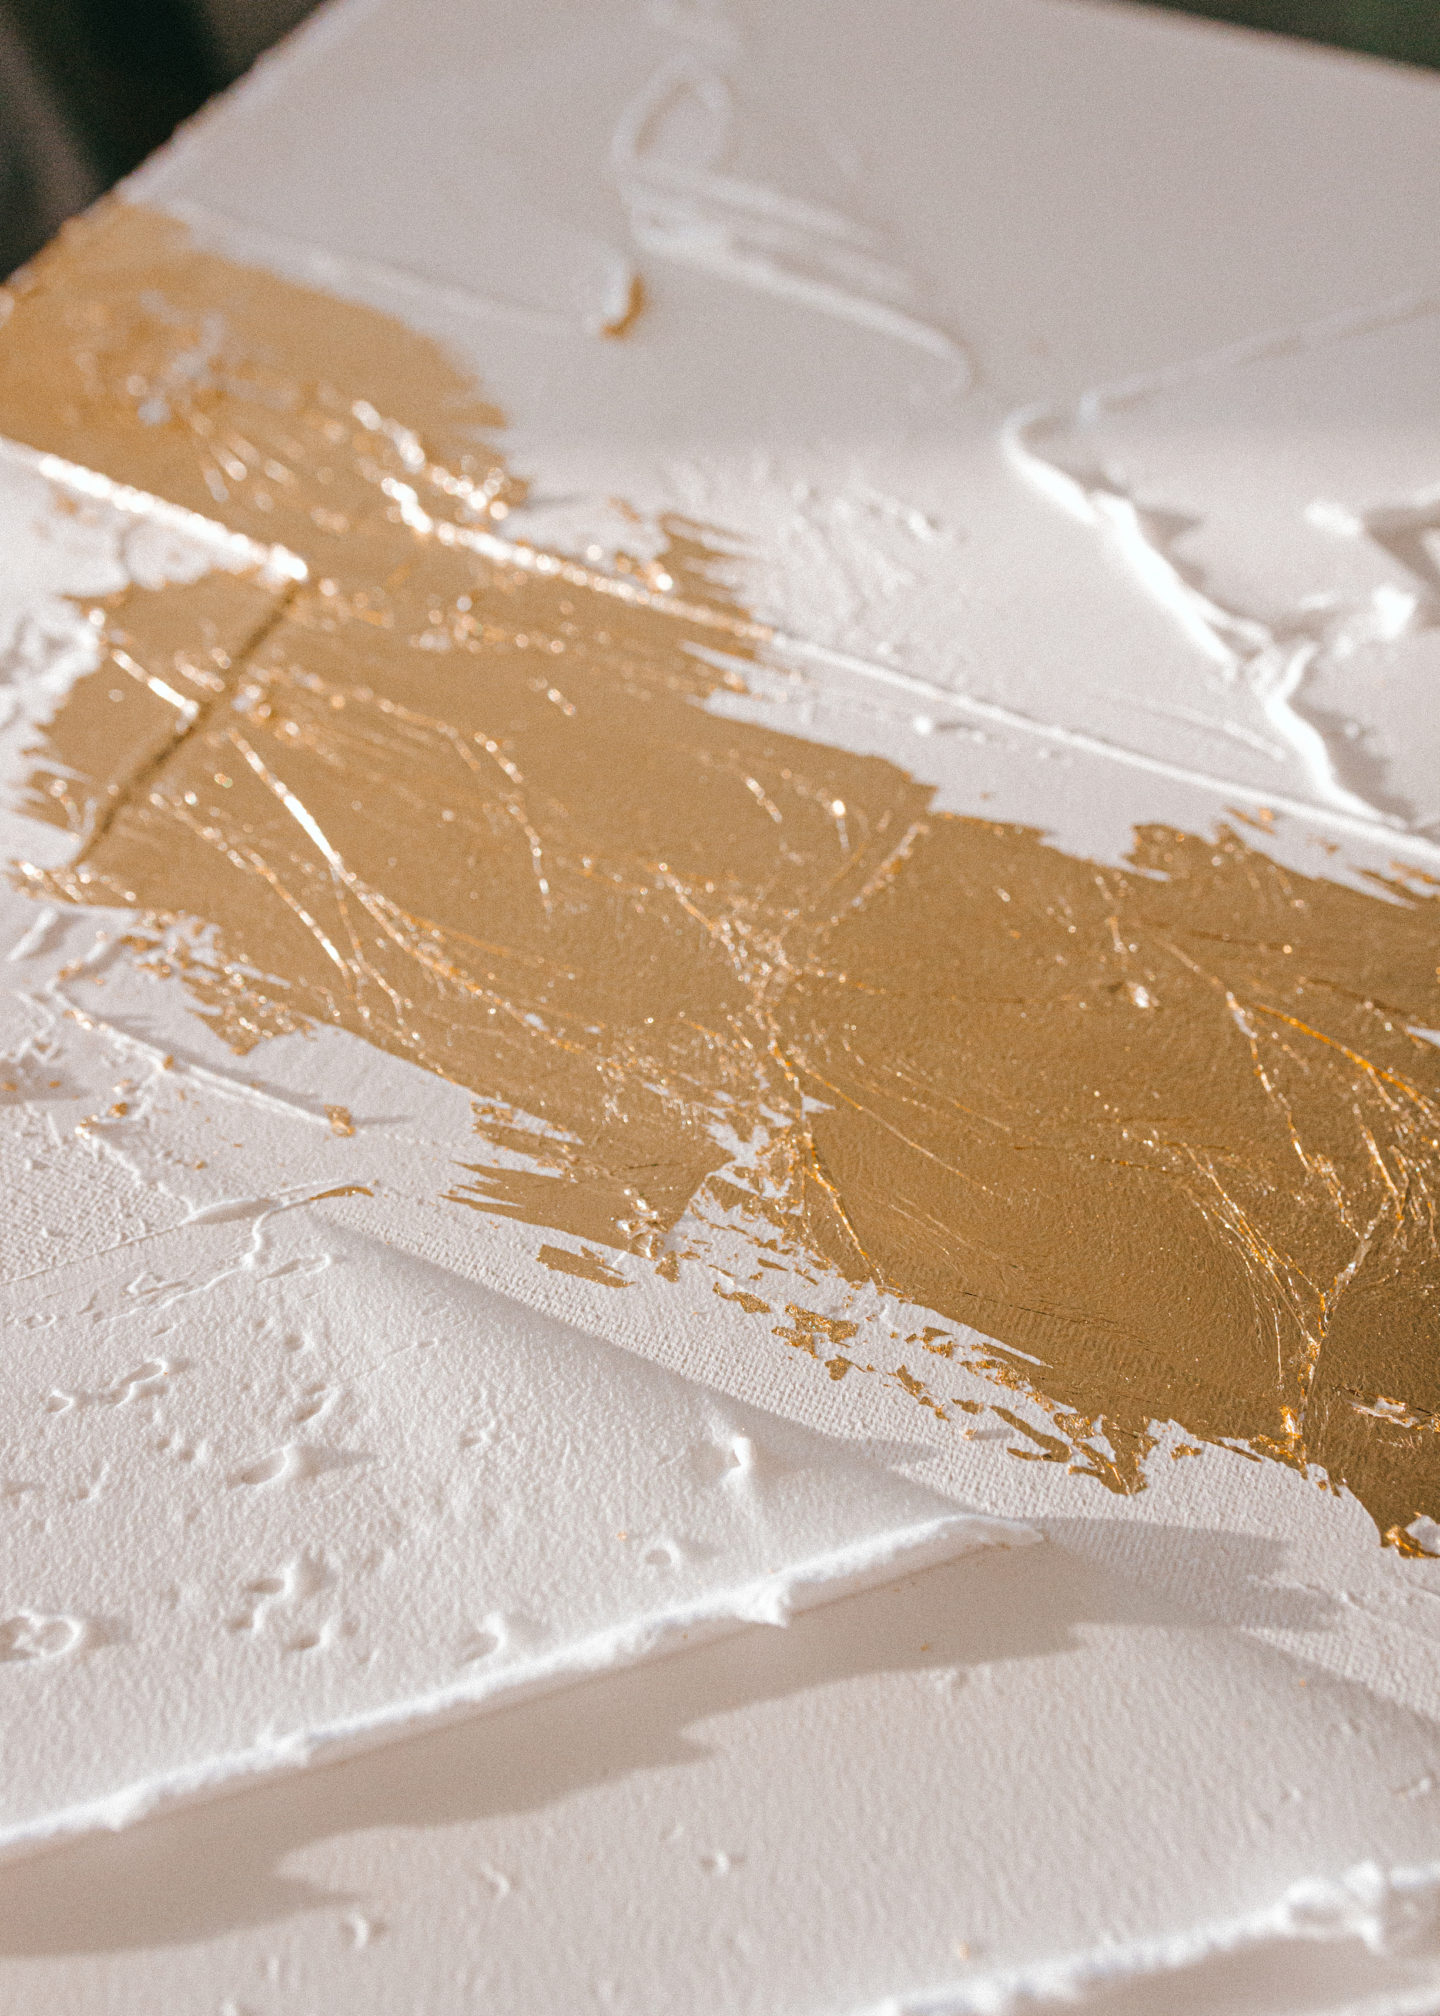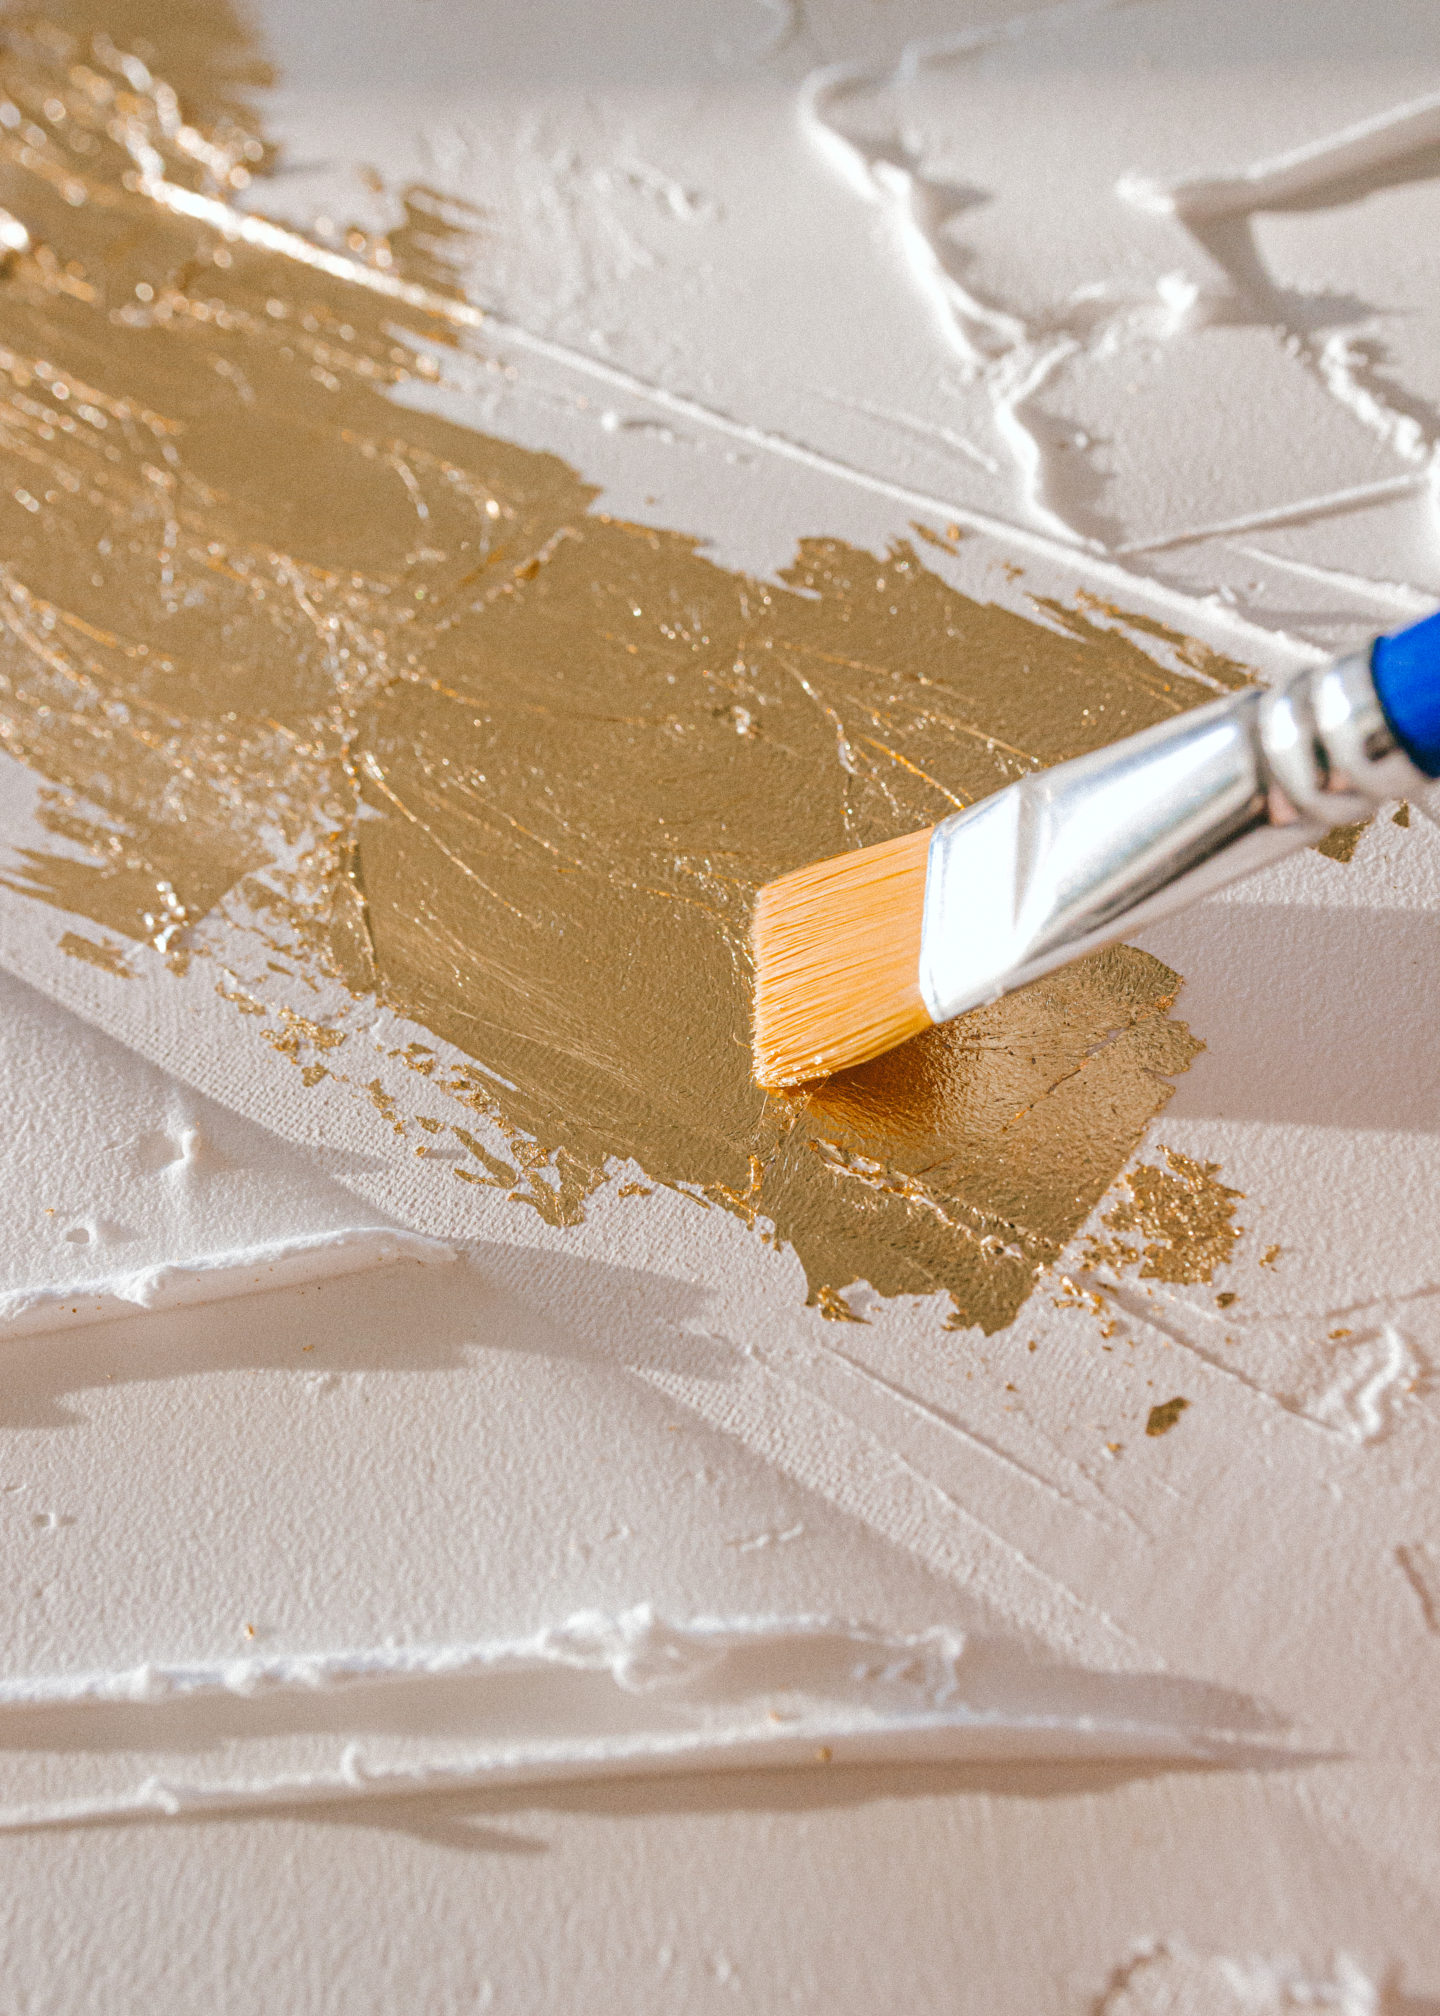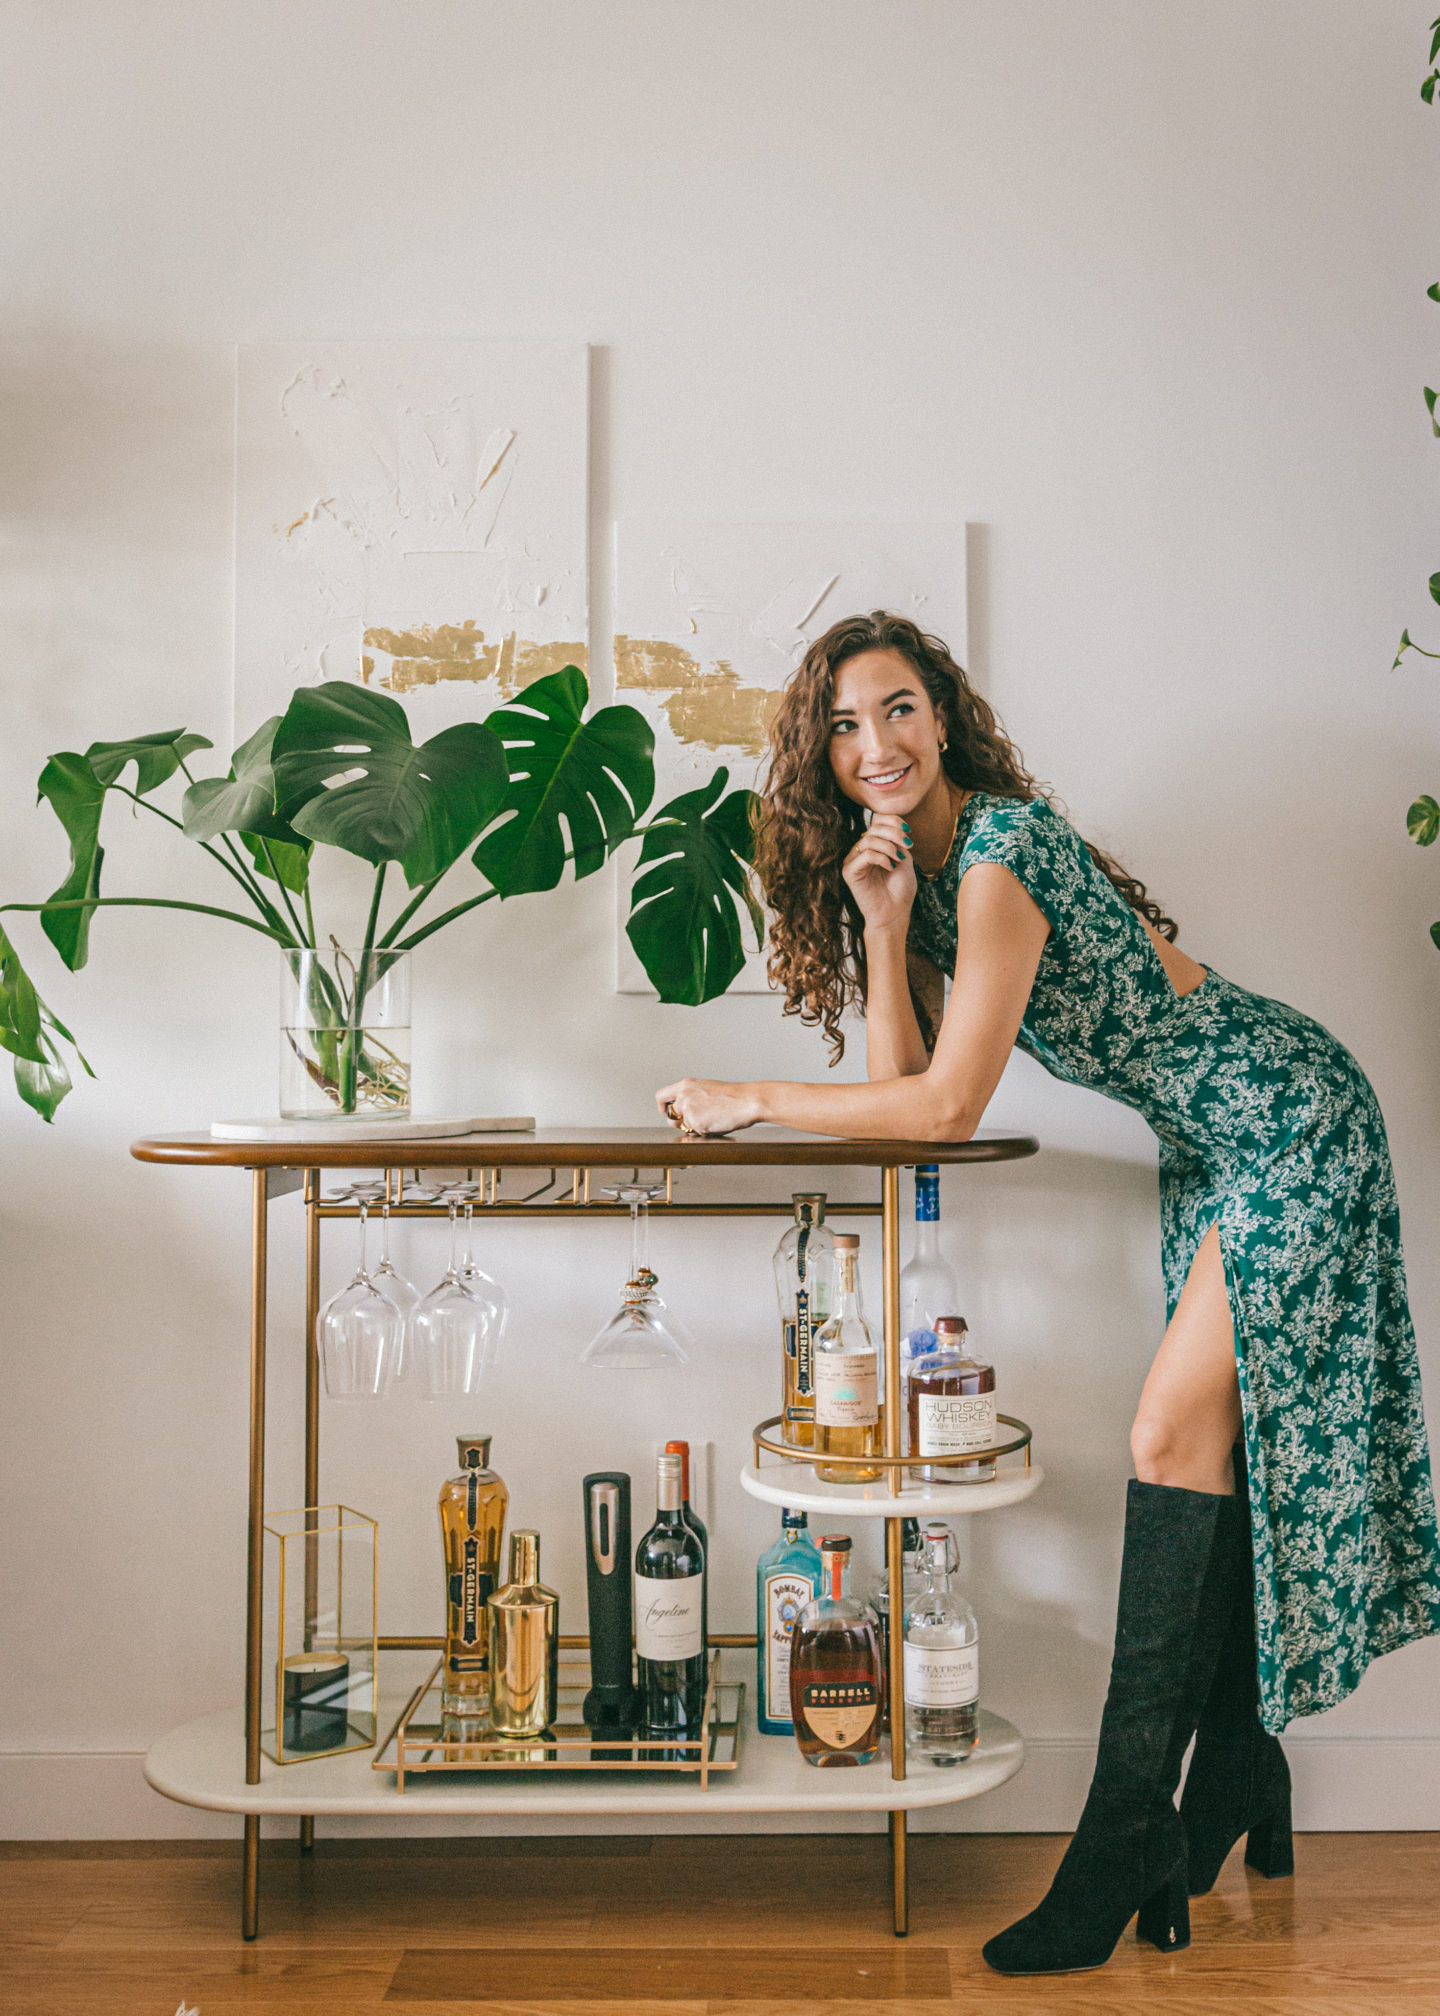
Hey guys! Today I’m sharing an easy and inexpensive DIY modern art project. This textured canvas only took about 30-minute to put together and all the supplies cost under $35.
I originally envisioned 2 large prints leaning on the bar cart, but Jordan wasn’t loving the idea. Usually Jordan’s lack of interested in my first idea helps me think a little more out of the box for option 2. While brainstorming, I knew I wanted to hang something that filled the white void, but did not compete with the statement plant wall at the center of the living room.
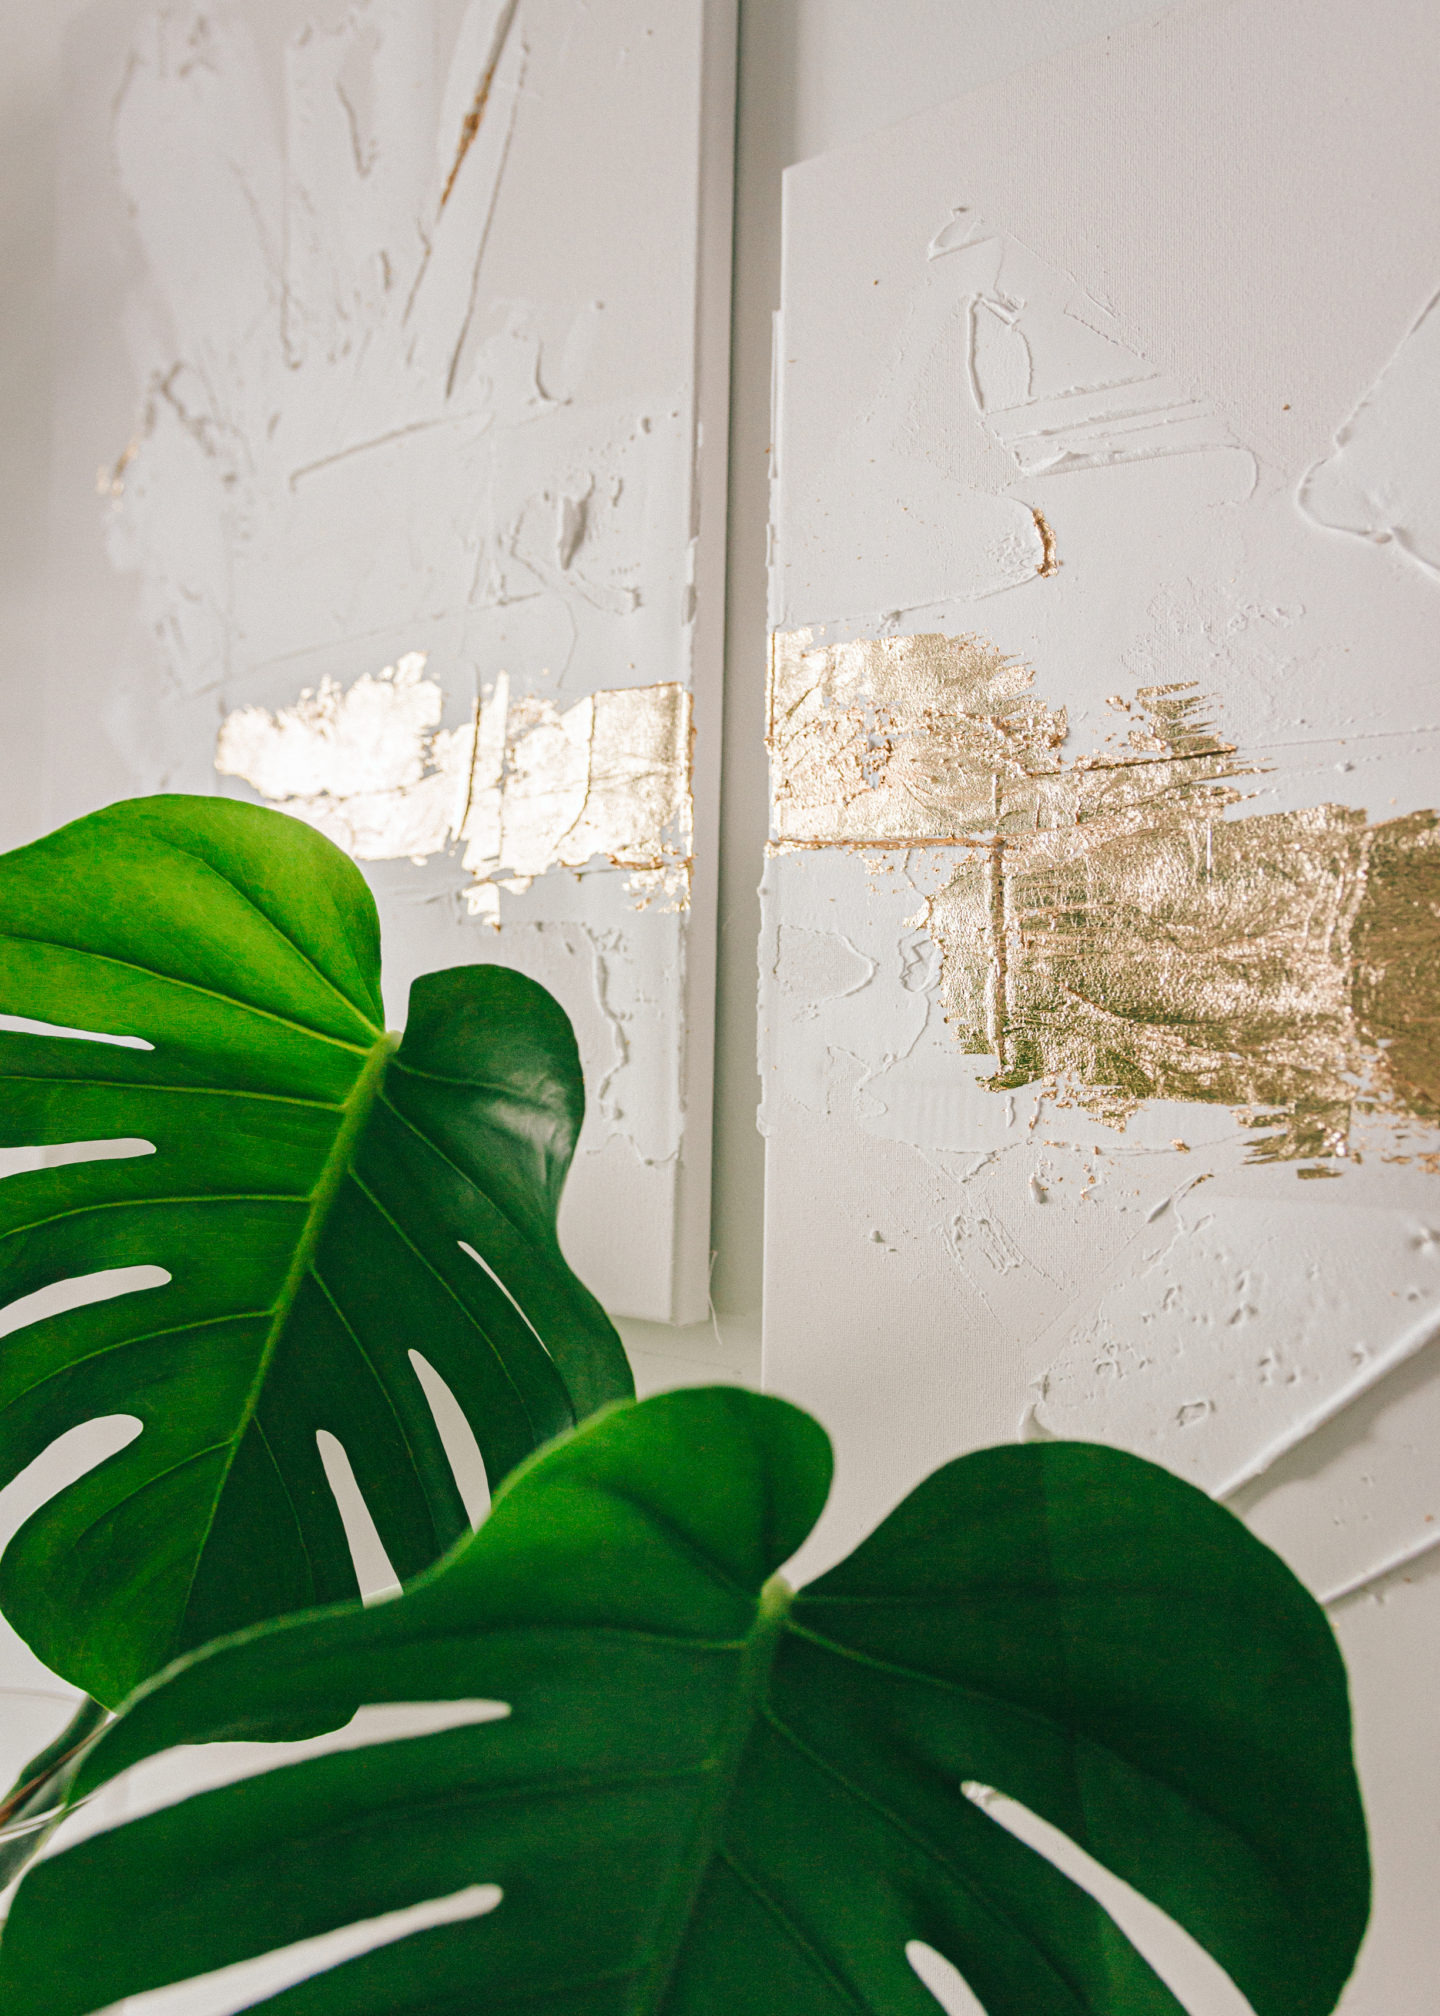
I ended up creating this set of 3D art pieces! I found inspiration from Pinterest, a few ‘Restoration Hardware Dupe’ YouTube videos, and Instagram.
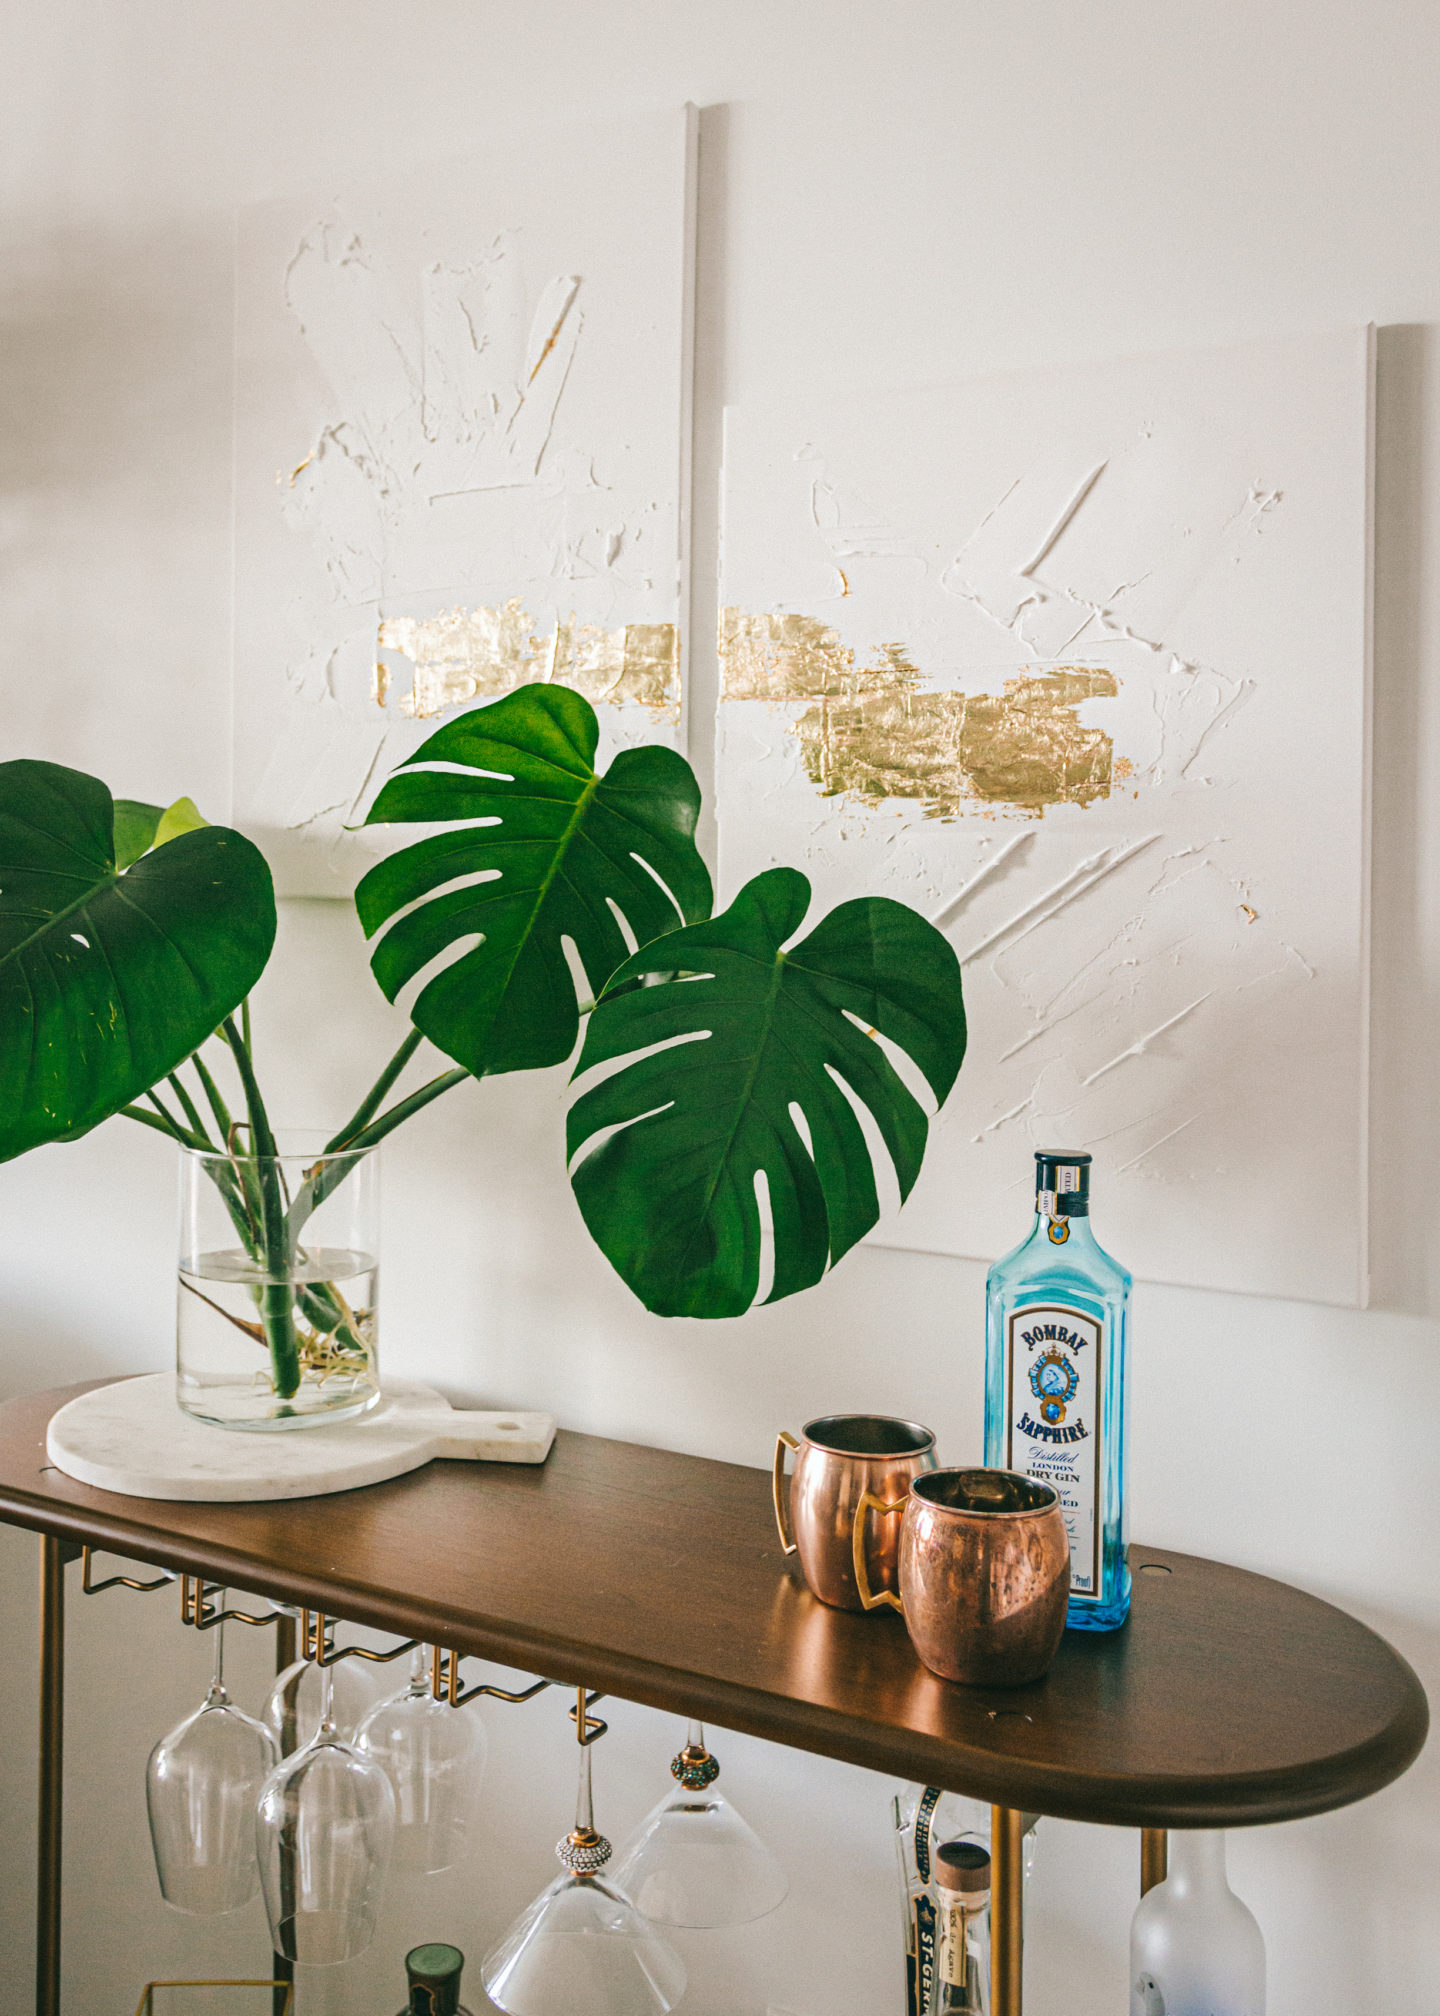
I love how the canvases add dimension and a small pop of shine to the bar cart area without distracting from the main focal point over the sofa. The gold leaf was an extra touch that I feel brings out the gold metal in the bar cart! Thrilled with how the pieces turned out and they were so easy to create.
How to Create Texture Canvas Art
Supplies:
- Blank Canvas – one large, 2-3 medium, or a set of 4 small prints in a grid would all work for this project! I went with two 18×24″ canvases that I found at Michael’s. I also suggest checking out a local thrift store for canvas and framed pieces that can be repurposed!
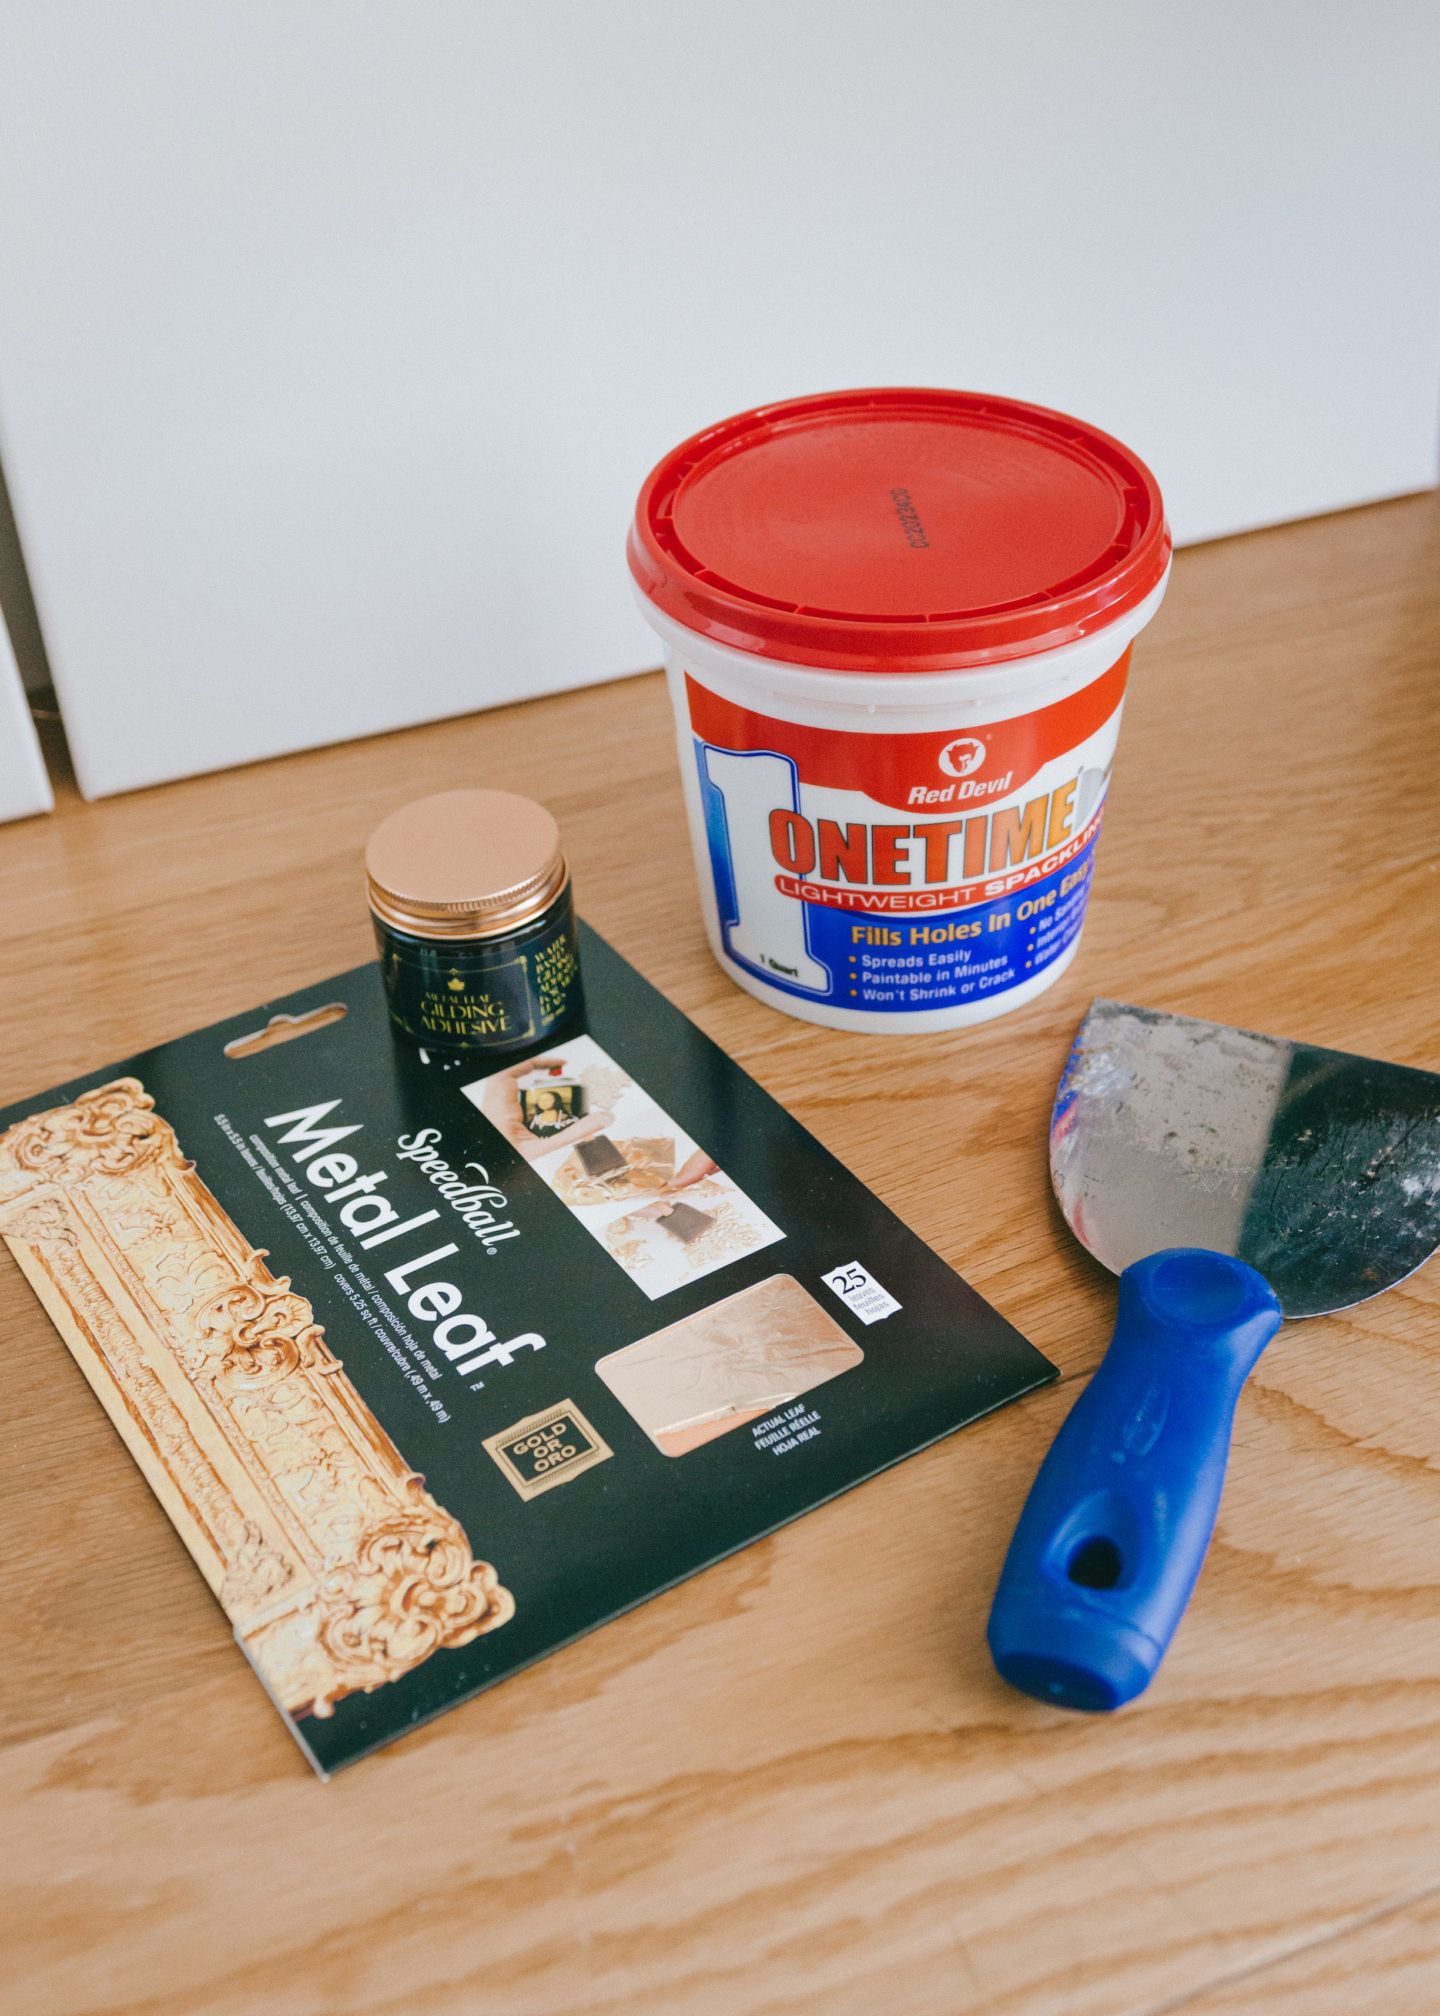
- Wall Spackle – quick dry, crack resistant spackle is your best bet! I got a large 1 quart tub and had a lot left over.
- Spackle Knife
- Gold Leaf Sheets – this pack of 25 sheets was more than enough
- Gold Leaf Glue + Paintbrush – glue is required to properly adhere the gold leaf sheets
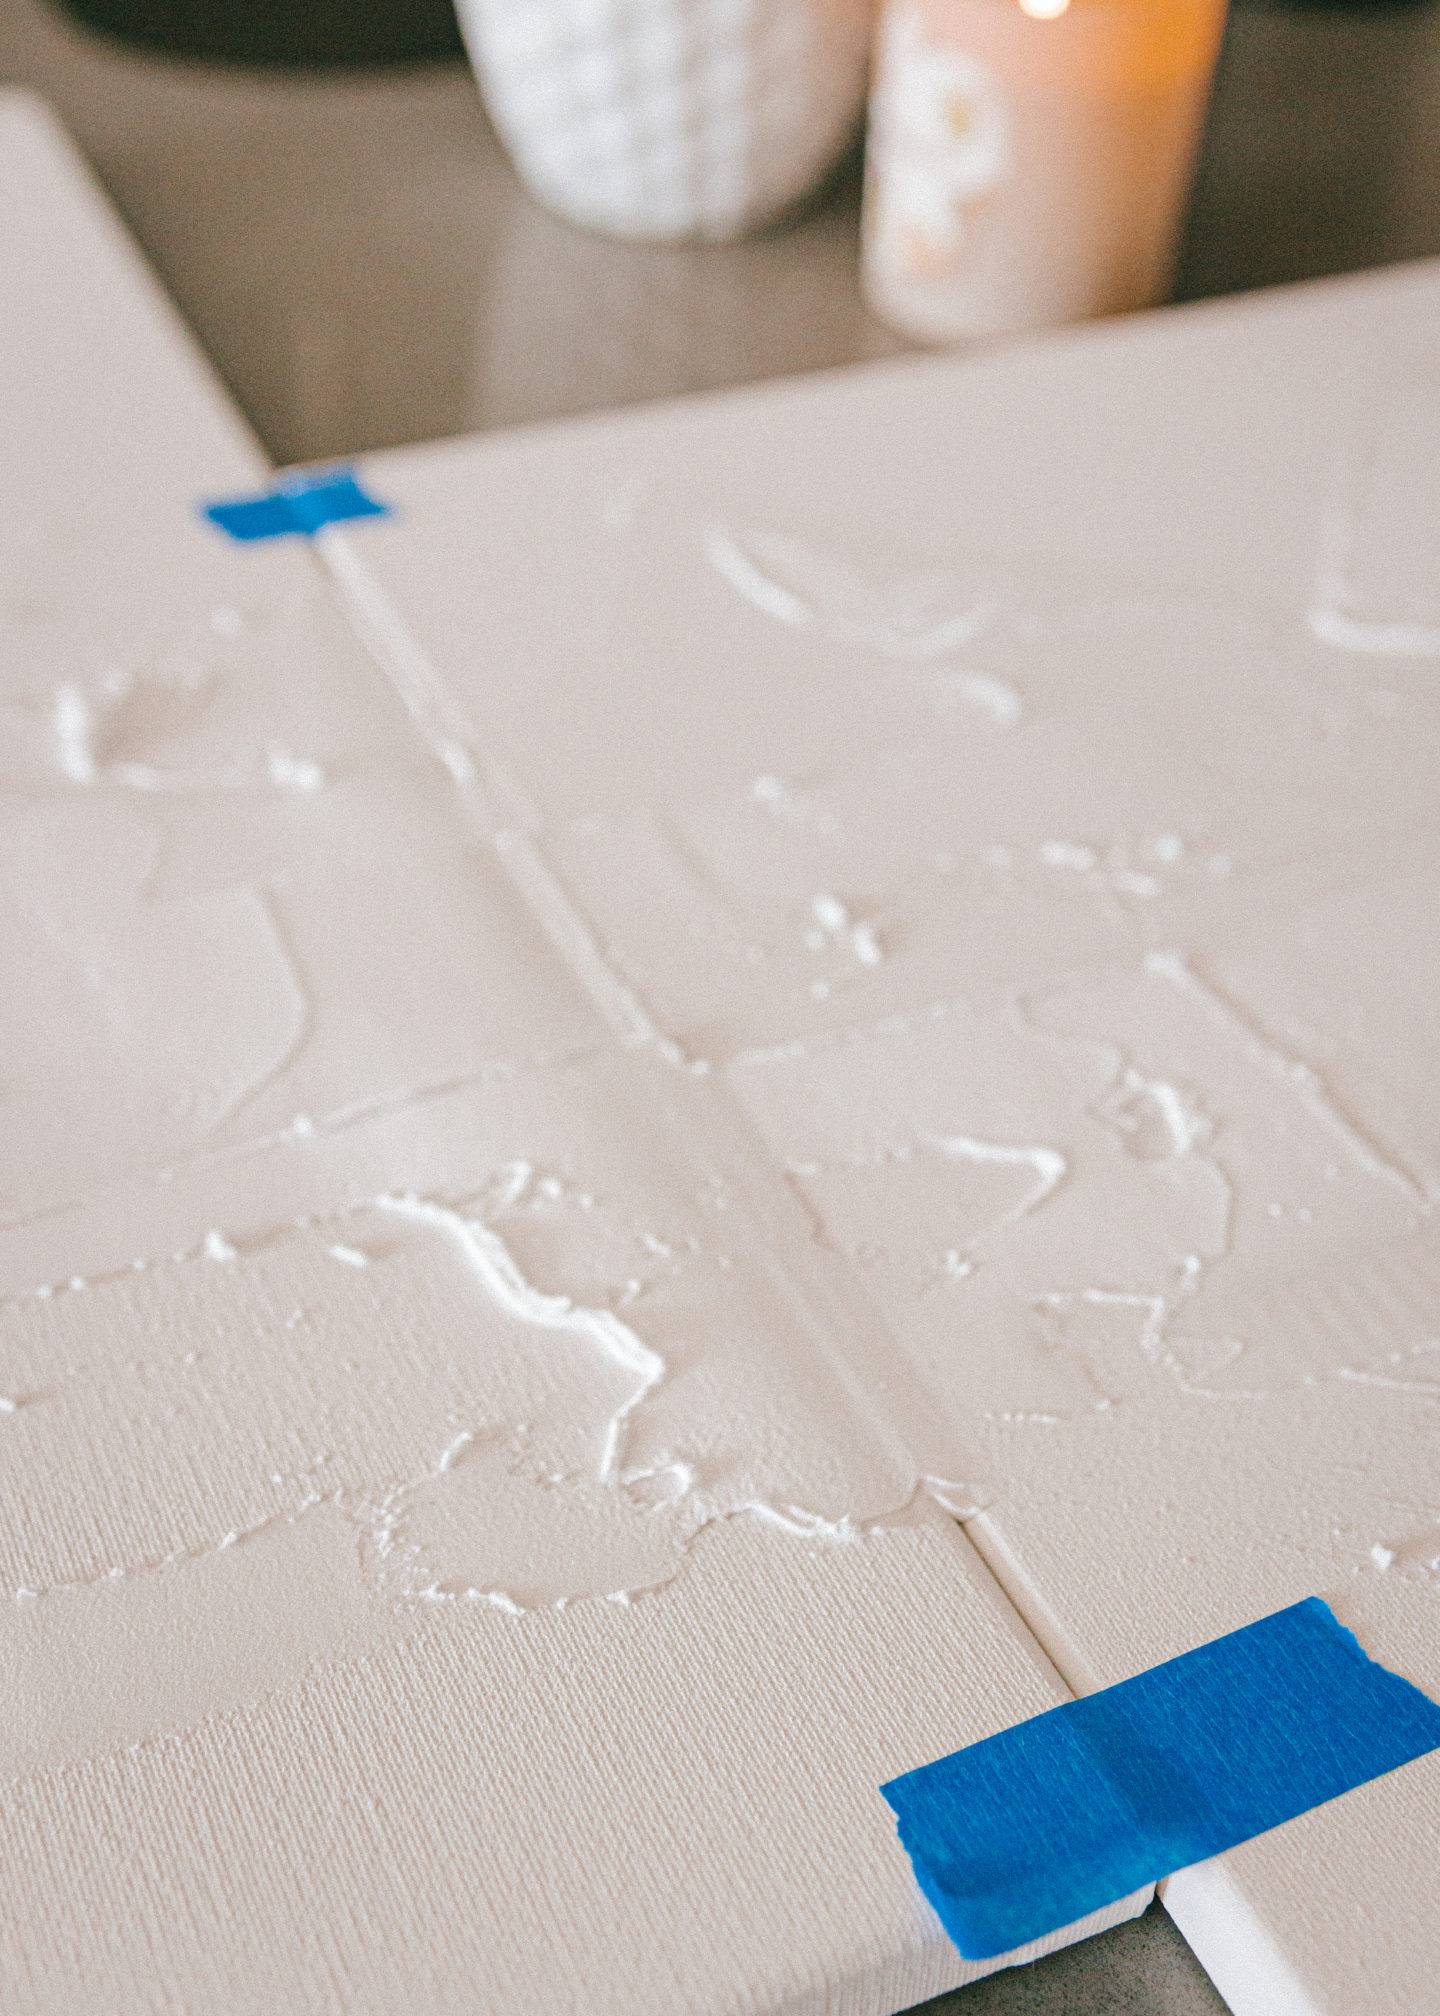
- Painters Tap – *optional* you can use tape to cover the edges for a crisp frame. I used mine to hold my prints together for a uniform swipe across the middle.
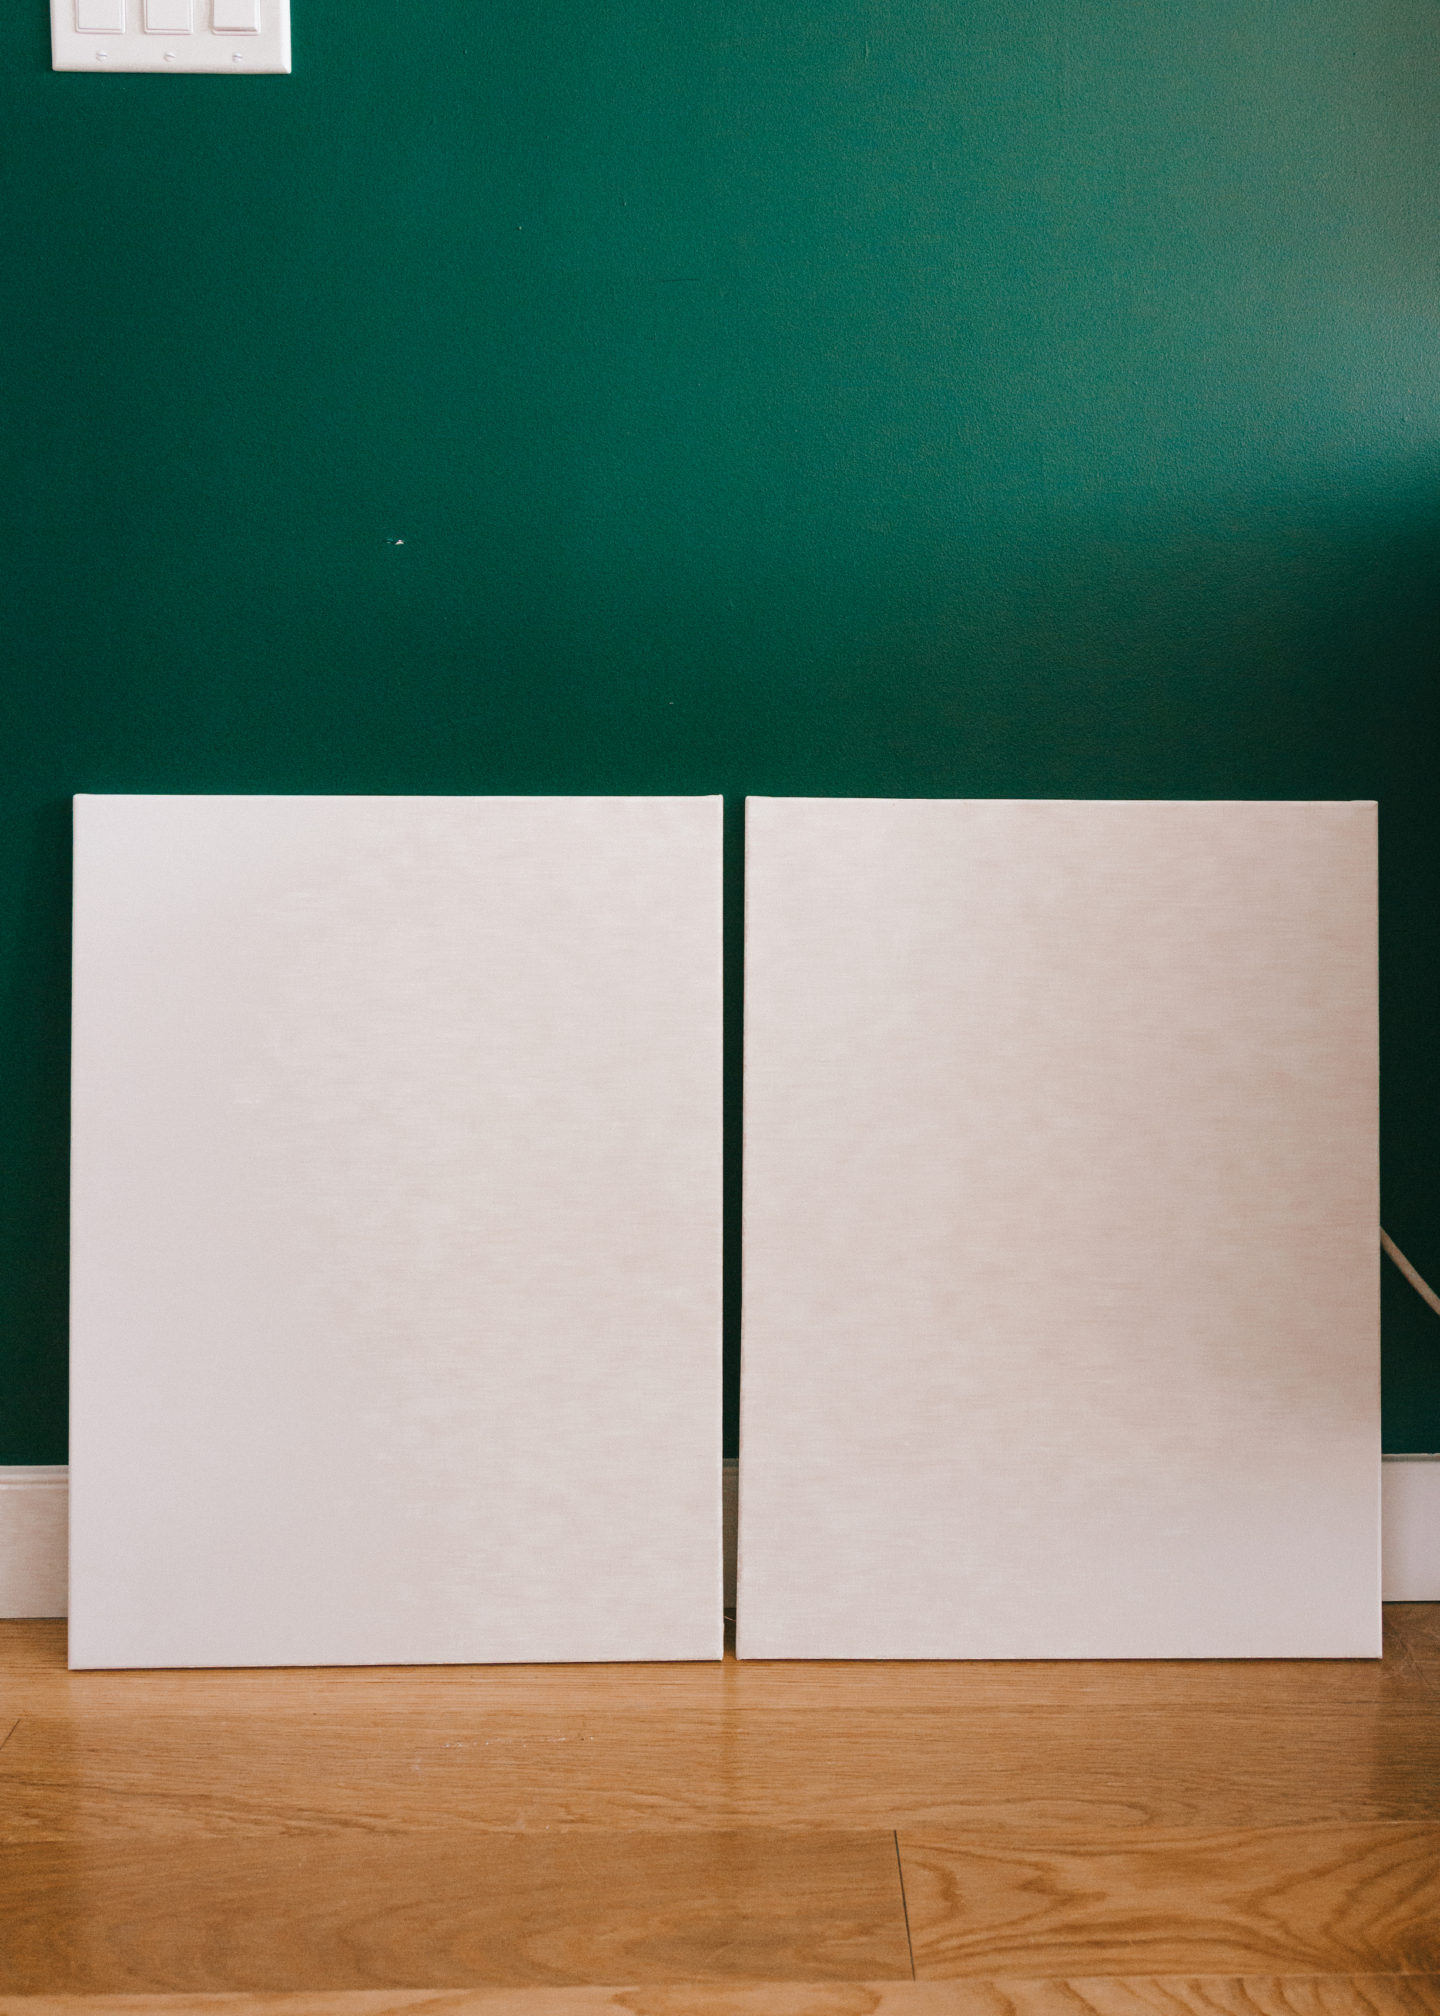
Step by Step Instructions:
1. First, layout your canvases on the wall or floor to decide on which layout you’re going to use. I wanted my pieces to have connecting line across the center, but you can absolutely create these as entirely separate pieces. Be creative!
2. Start placing spackle on the canvas! This is meant to be abstract so you really can’t mess up. If you don’t like how it’s looking, scrape off the spackle. It will take some time to dry so you have the option to re-do and edit as you go!
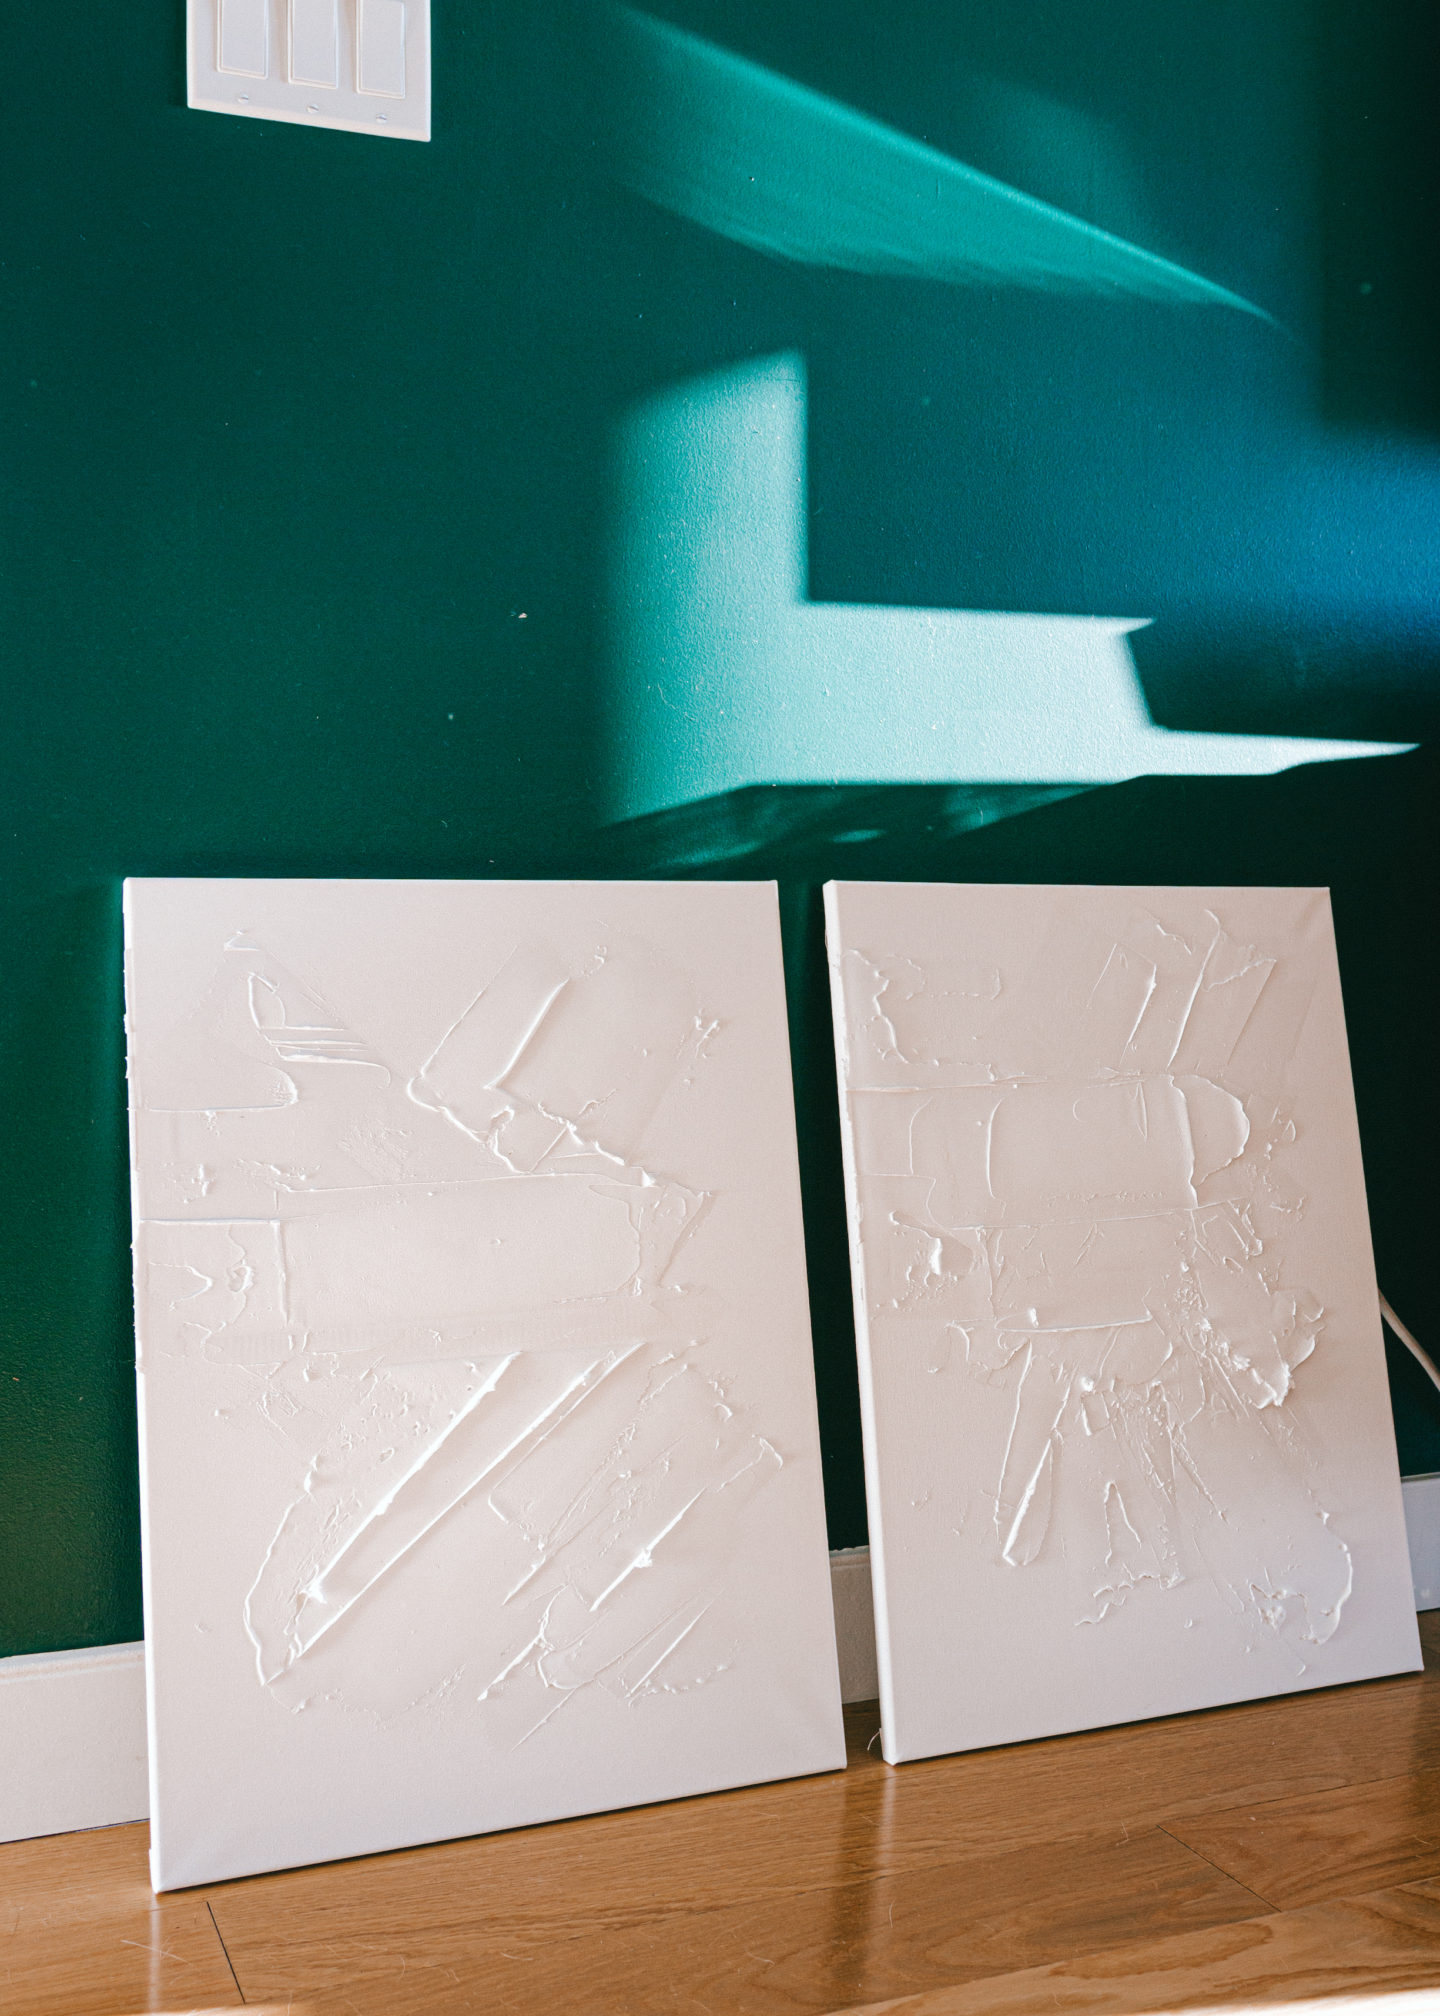
3. Once completely dry, paint ONLY the area you want gold leafed with gold leaf glue. Allow to dry slightly (until tacky) and place a sheet of gold leaf. Wait a few minutes and slowly peel back the gold leaf sheet. Use a dry paint brush to gently brush away the remaining gold leaf. You can always add more and layer as you go!
4. Hang! Now that your prints are dry, hang them up and enjoy your work! These canvases were very light so I used only a single nail to mount them to the wall.
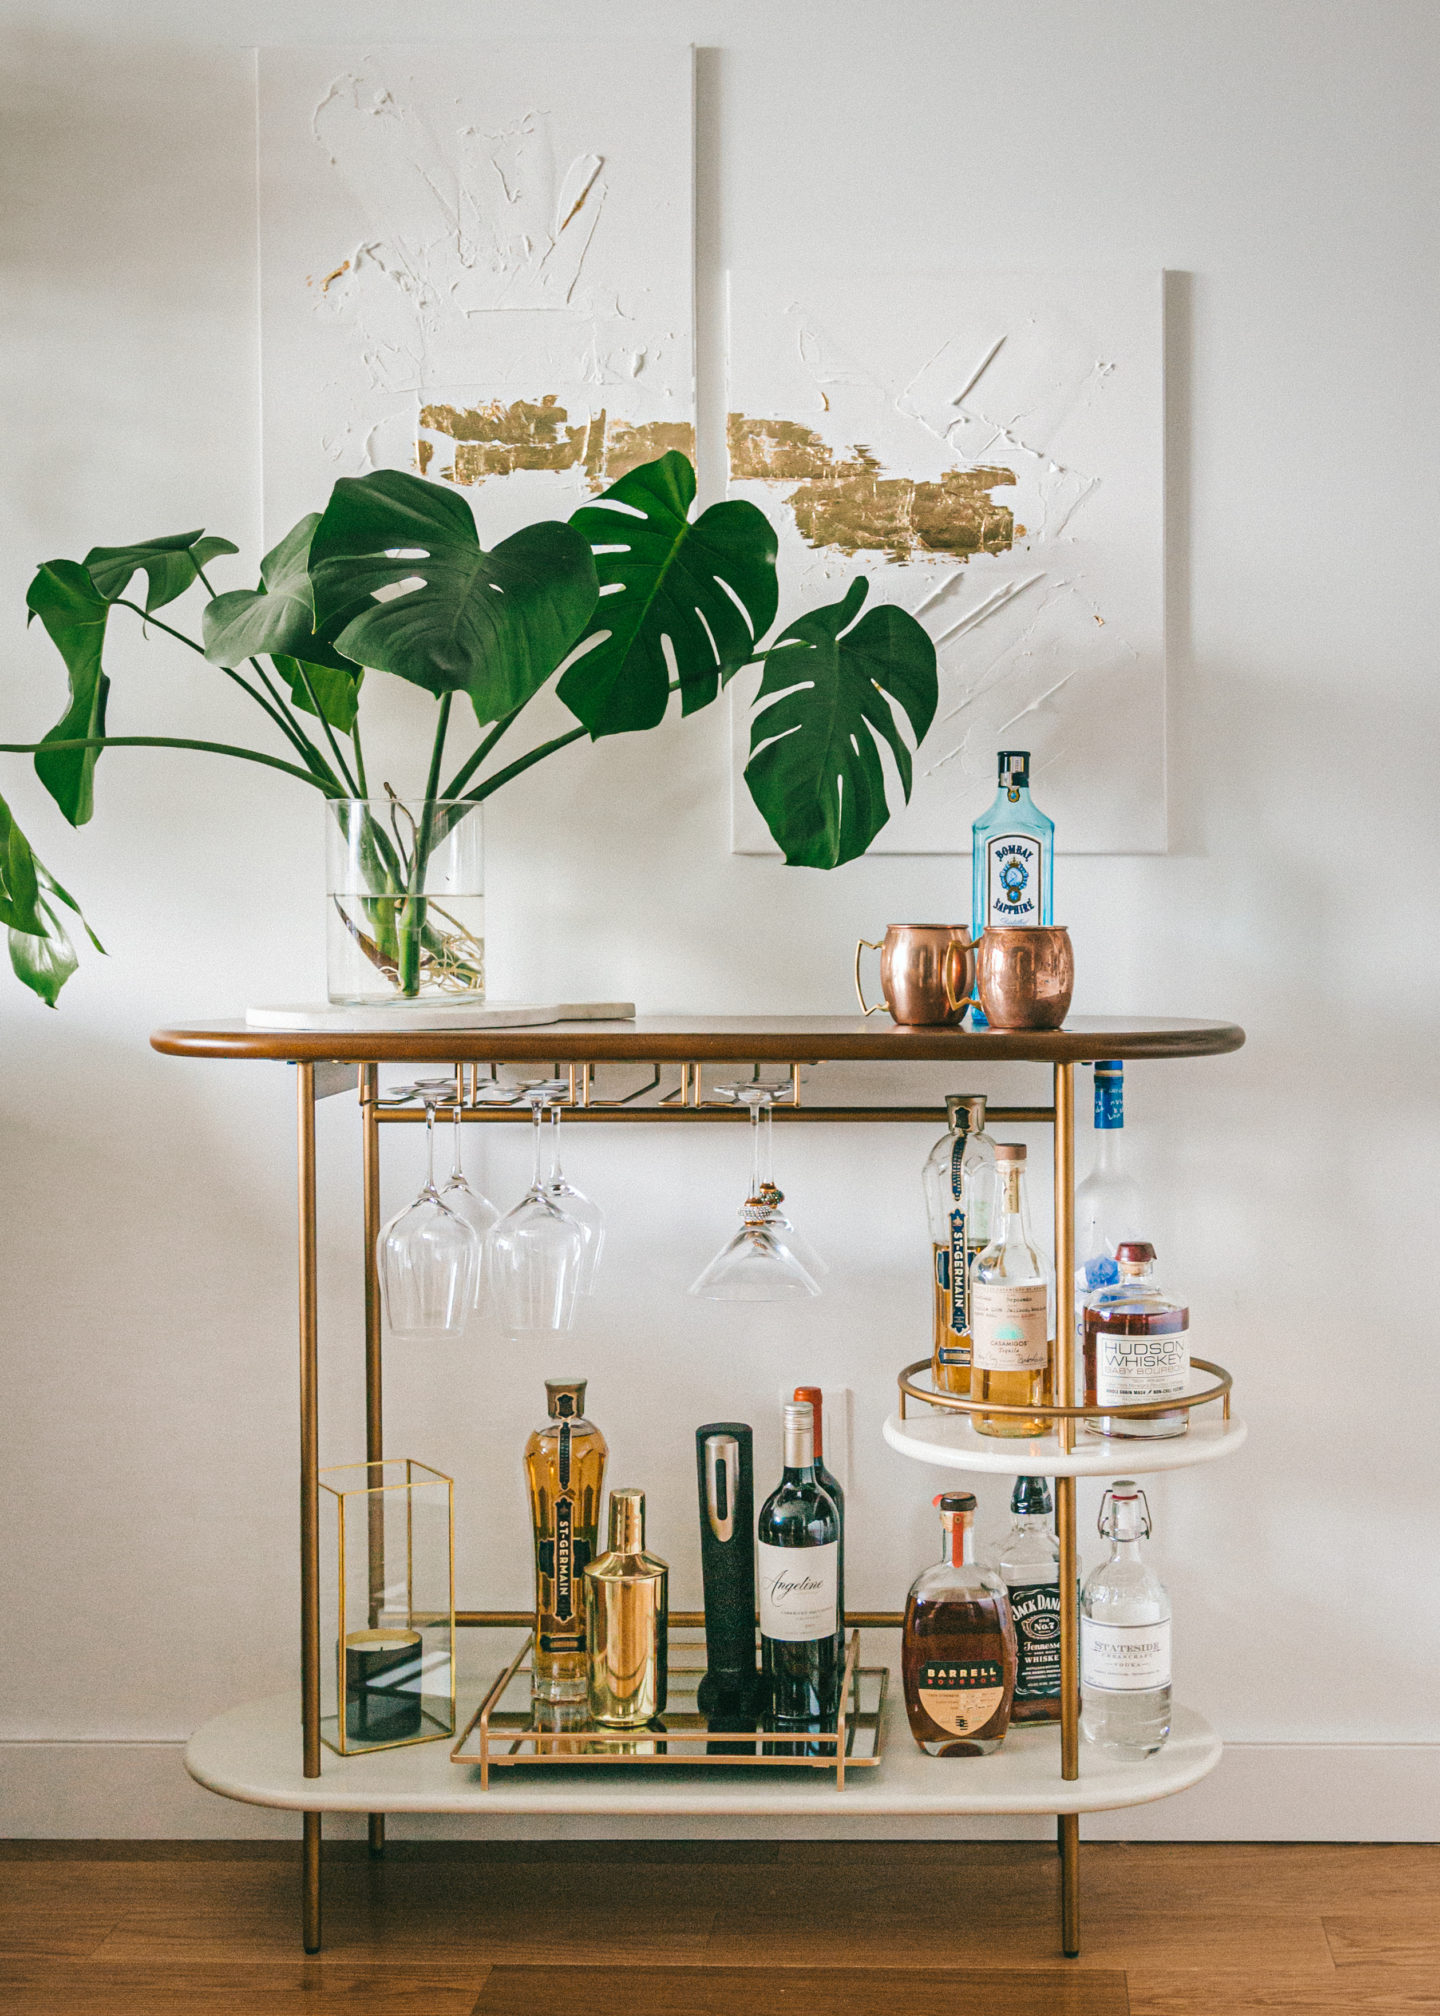
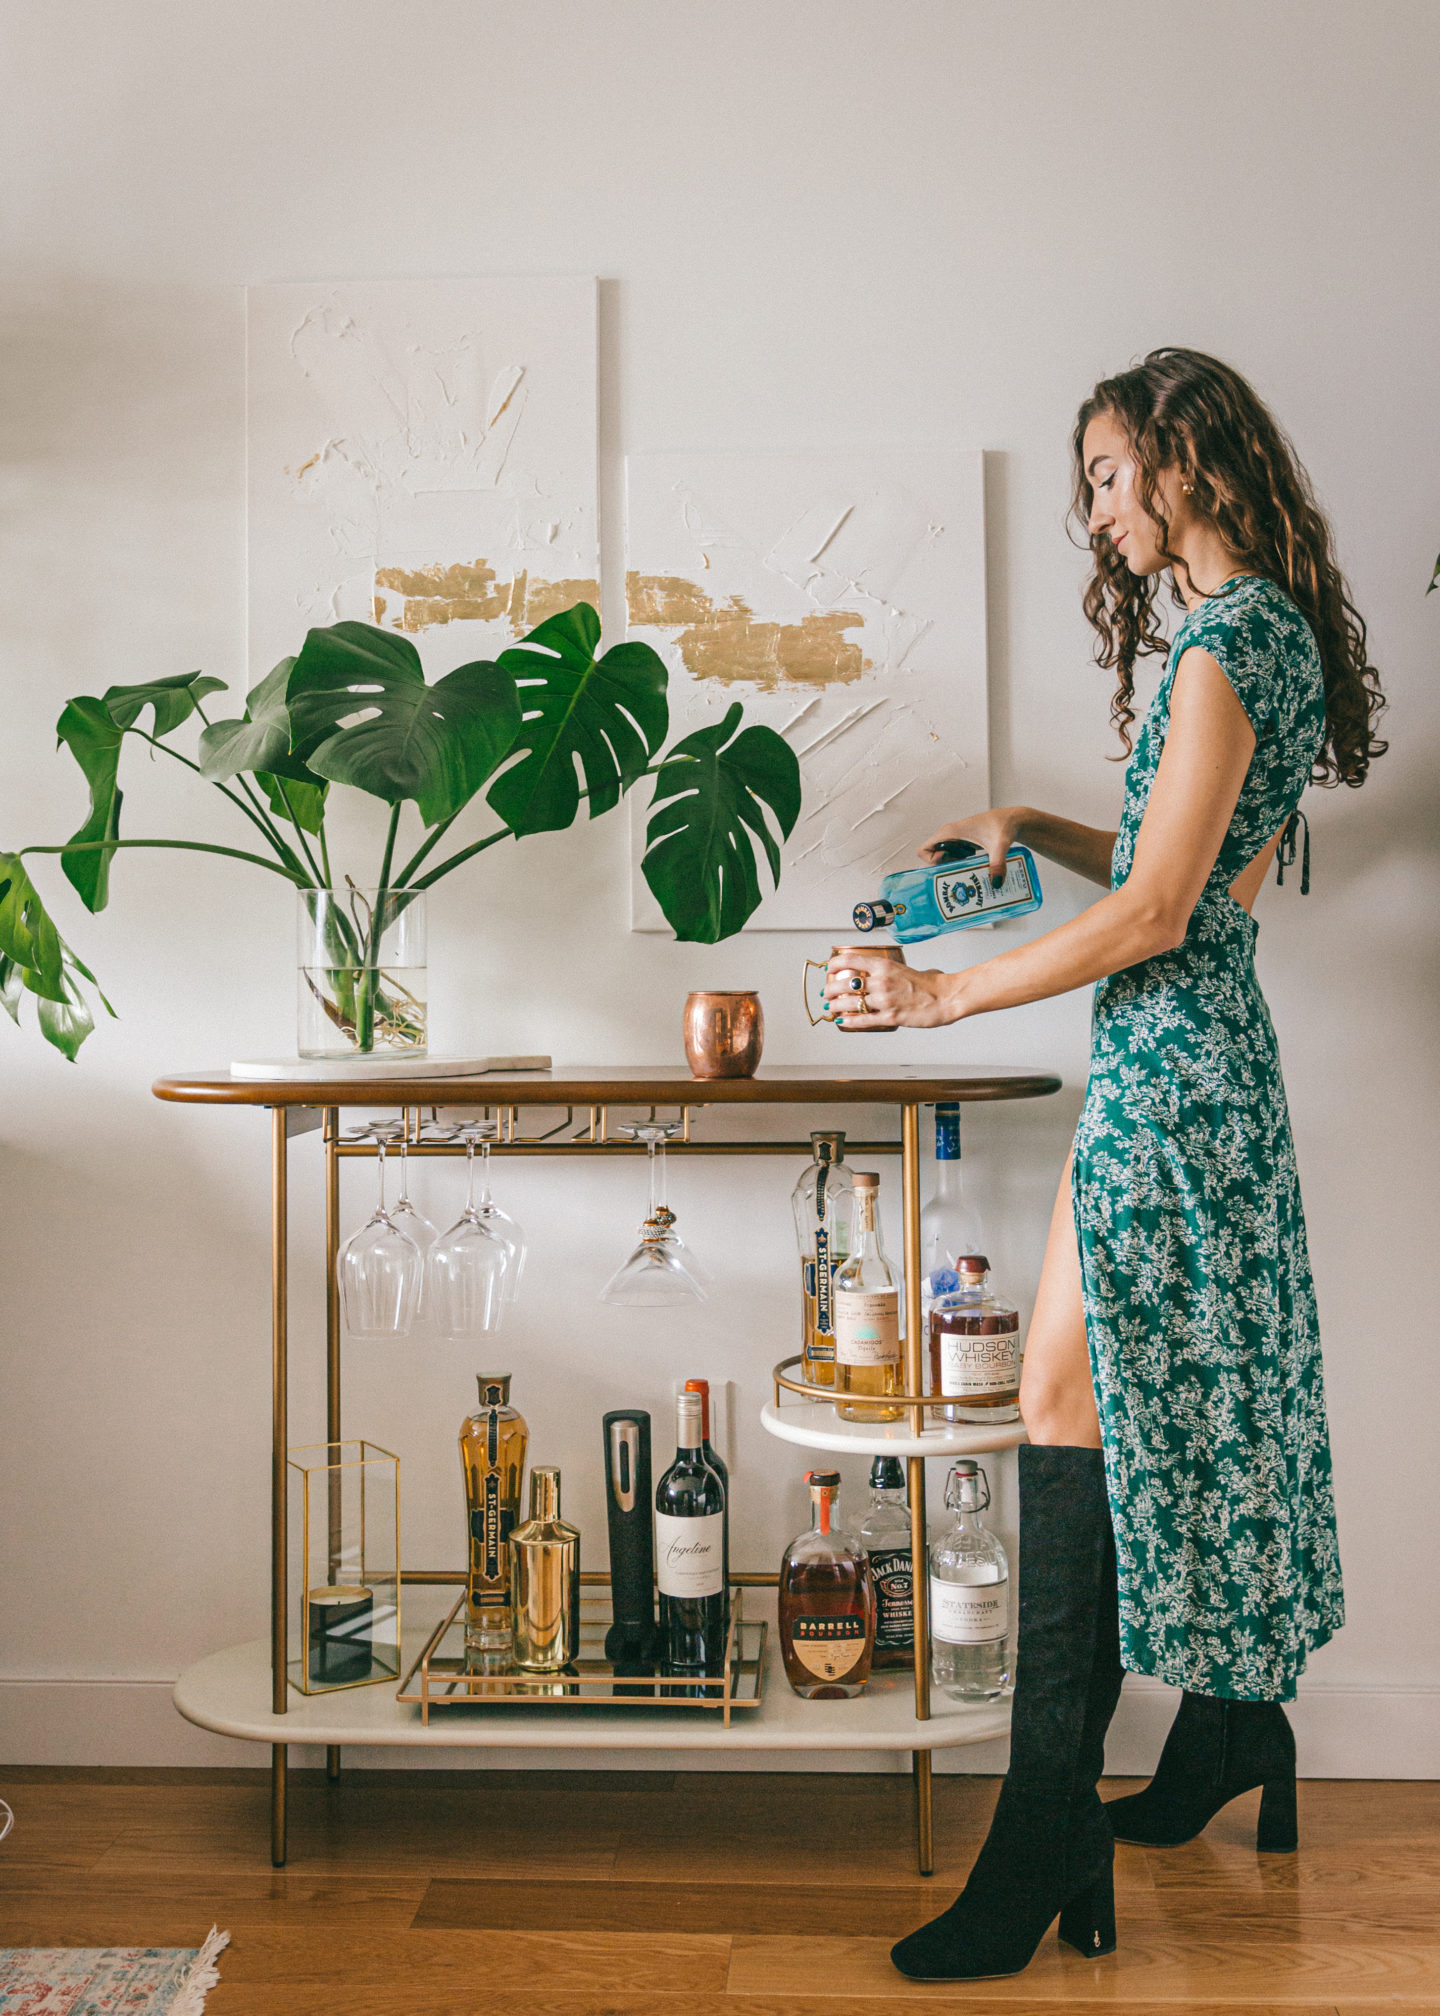
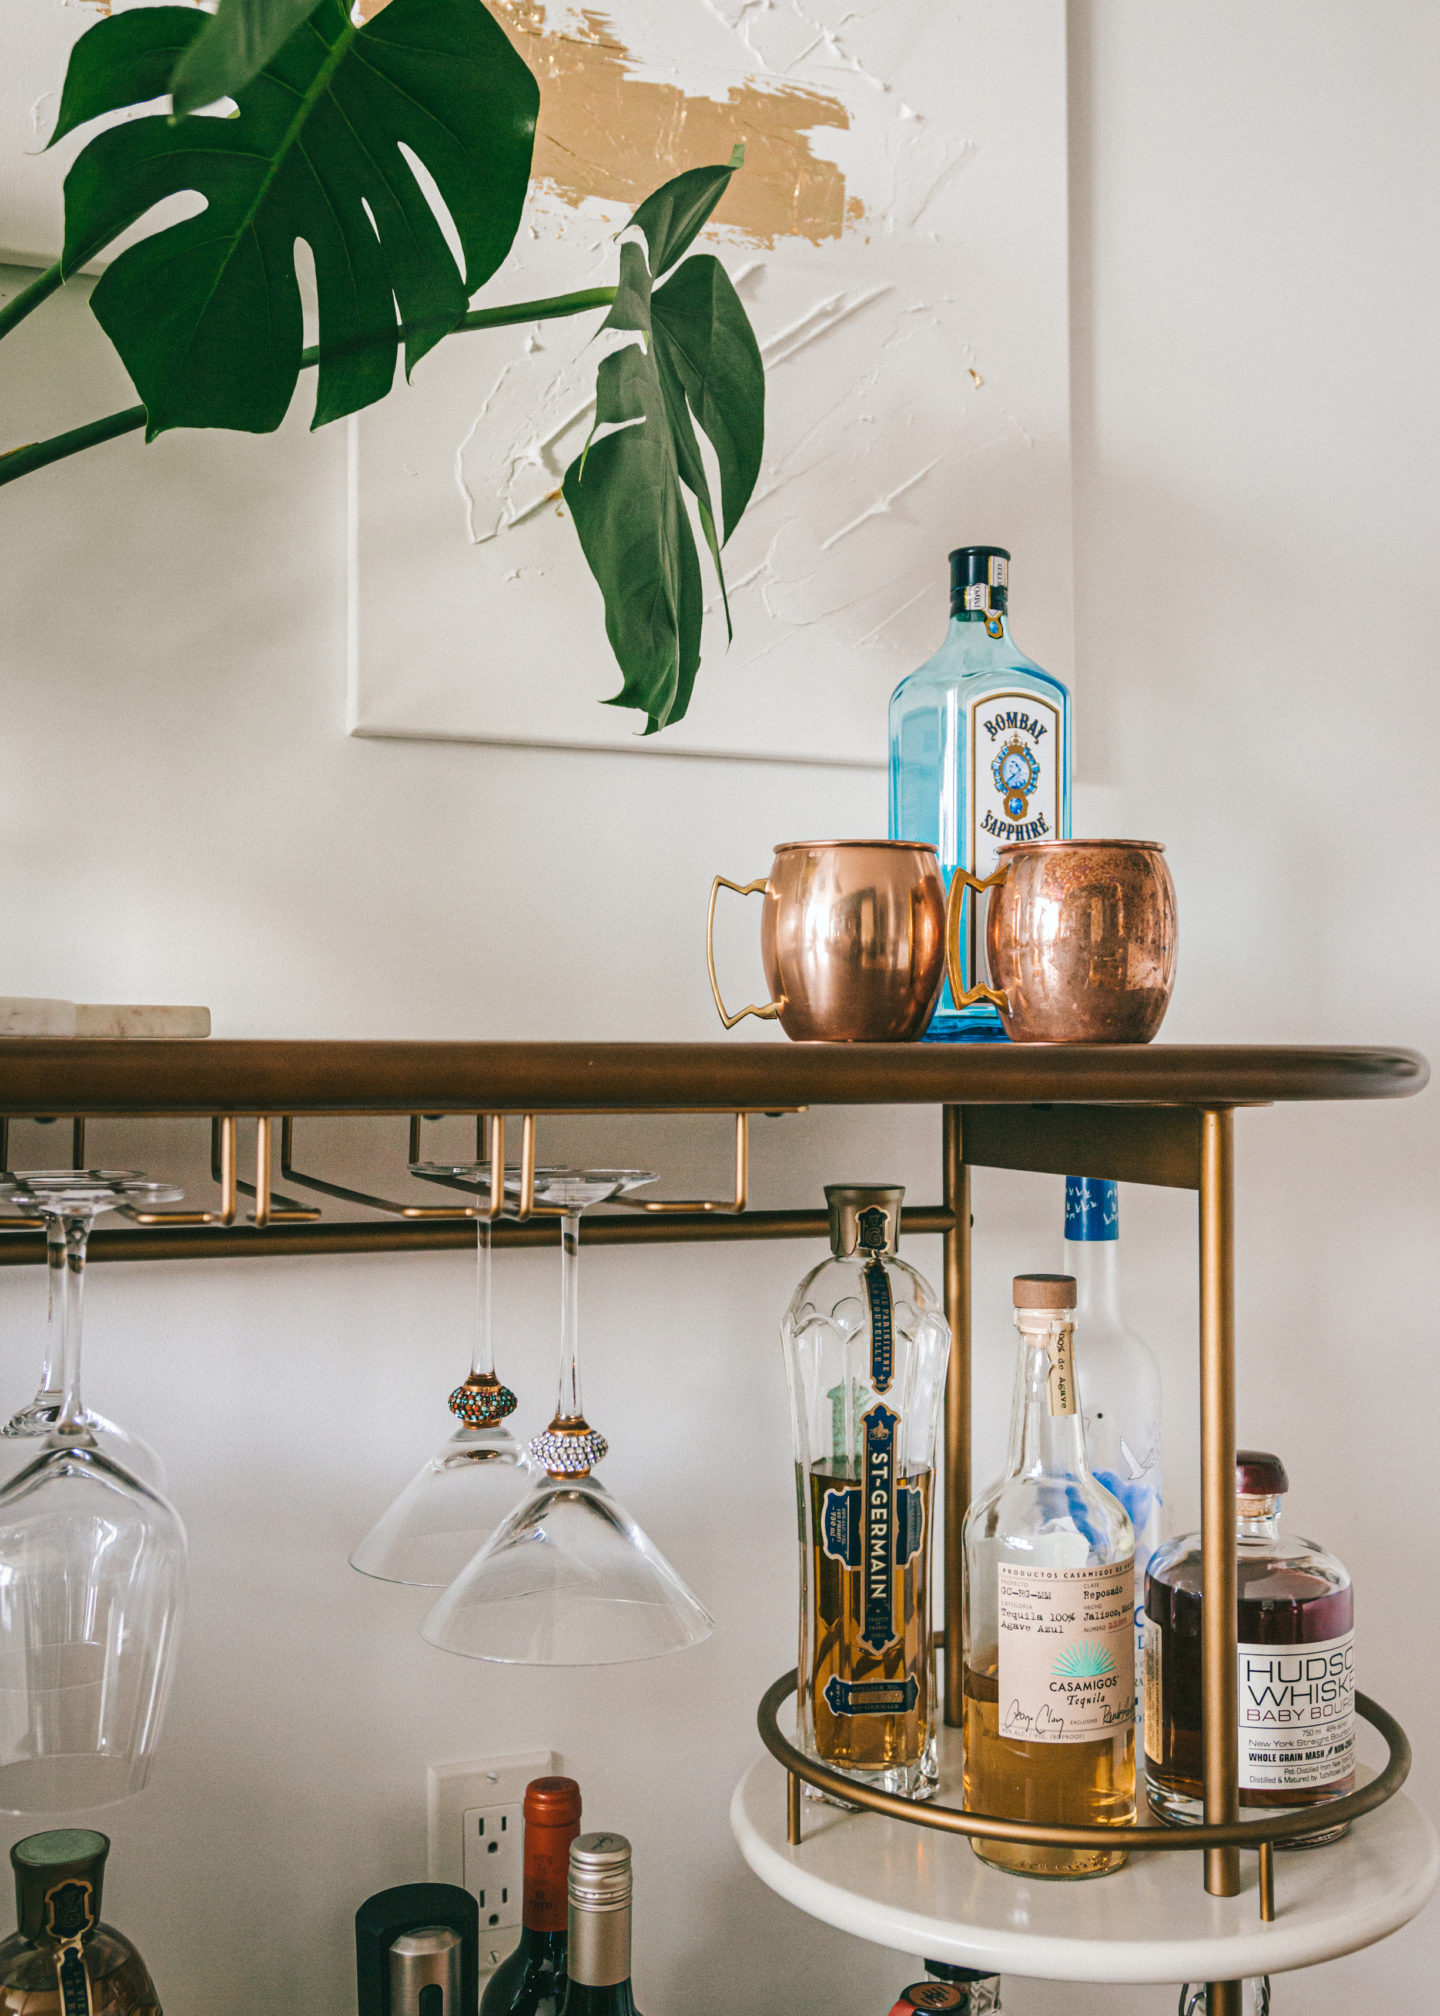
I styled my bar cart a bit to feature these DIY pieces, but I’m working on a full update soon! Check out how I had it styled at my Brooklyn place here.
Would you guys try this? If you give it a go, tag me on IG @melissa.frusco so I can see how it turns out. There’s nothing I love more than seeing you guys recreate my interior project 🙂
Thanks for reading!
*Melissa

